If you’re anything like me (and most iPhone users), you’re probably tired of swiping through countless screens to find the app you need. Fortunately, making folders is a quick and easy solution to reduce digital clutter and assist in organization.
In this guide, I will show you how to create and customize folders on your iPhone step-by-step. I’ll also share some tips afterward on how to customize, move, and delete folders, so be sure to read on and master that iPhone productivity.
Step 1: Decide which apps to group together
Start by deciding which apps you want to group together into the new folder. For example, you might want to create a folder for all your social media apps or for your productivity apps. Think about how you use your phone and what apps you frequently use together.
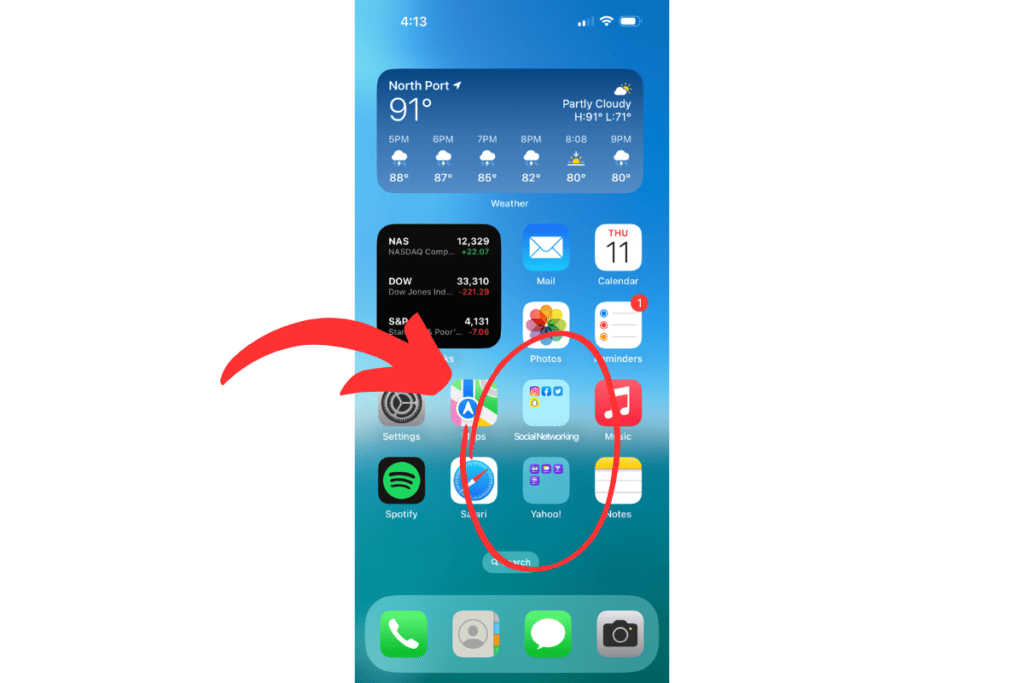
Some great ways to categorize apps that I’ve found useful include grouping by streaming video apps, finance/credit card apps, mobile games, food delivery apps, as well as by app provider (like if you have a similar group of apps from Yahoo!).
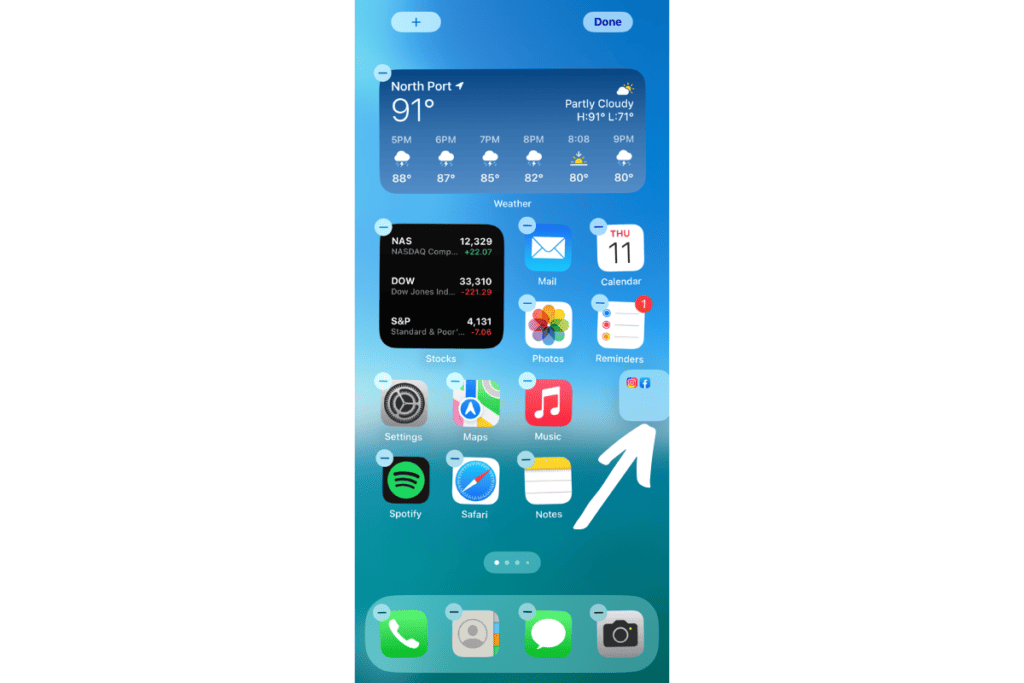
Step 2: Long press and hold on an app icon
Next, long-press on an app icon until all the apps start to wiggle. If successful you should see a minus ‘-‘ looking symbol on the top left of all the app icons on the home screen page. This means that you’re in “edit mode” and can start moving and organizing your apps.
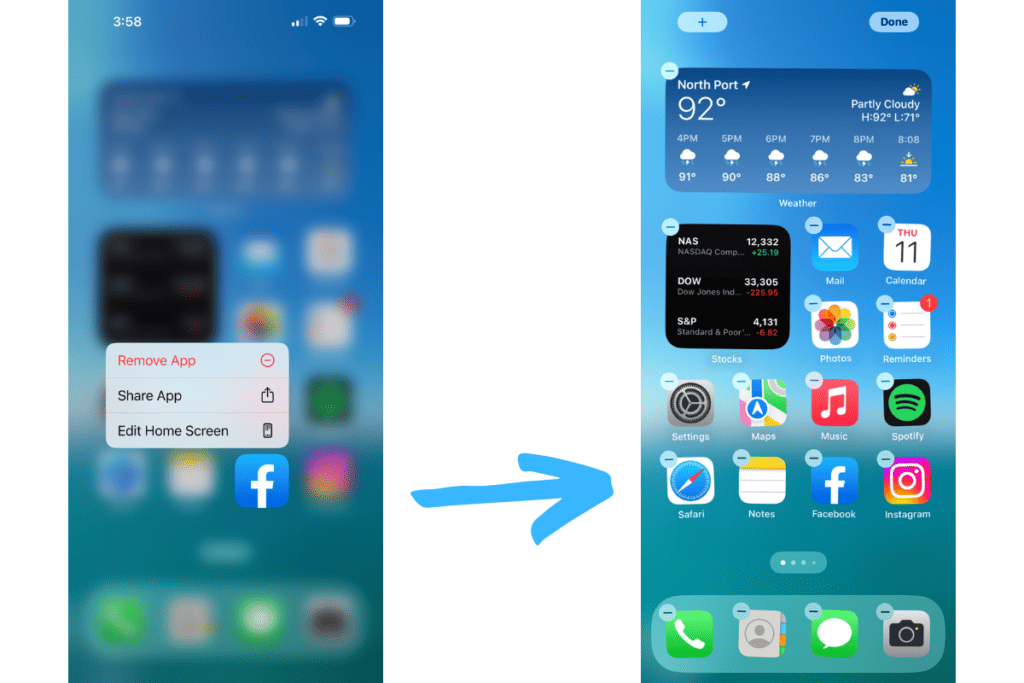
You can also enter Edit Mode by long-pressing an app icon for a slightly shorter duration until a small menu pops up showing options to either remove the app, share the app, or edit Home Screen (tap on this option).
John Hammer writes and owns this content
Step 3: Drag one app on top of another
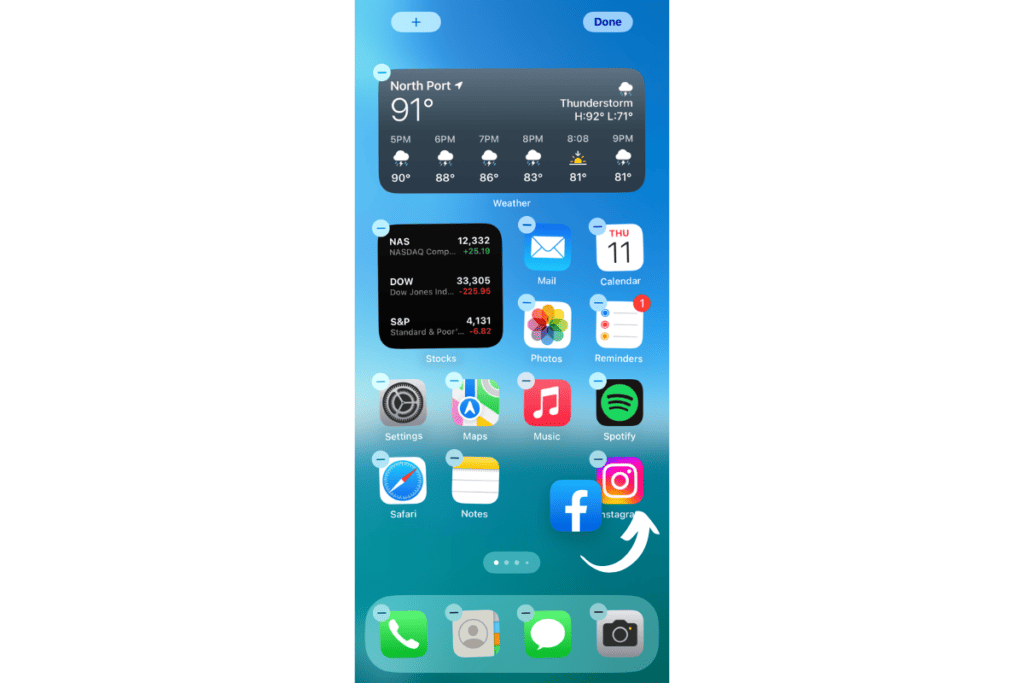
While in Edit Mode, hold and drag the app toward another app that you want to group into a new folder. Be sure to fully drag over the app until it is completely over the other app so that it can start the new folder sequence.
If the app that you want to drag over to make the folder with is on a completely different home screen page, briefly drag and hold the app to the far right or left edge of the home screen depending on which page the other app is on.
Quick Note Here: If at anytime during the Home Screen edit process the app stops wiggling and snaps back to it’s original spot on the home screen page, simply repeat step 2 by long-press and holding the app icon to enter edit mode again.
Step 4: Hold and release the app on top to create a new folder
Now, while holding one app on top of another, you should begin to see an outline of a box around the icon. Continue to hold until the outline “blinks” around where the app is hovering. This is confirming that you are making a folder by grouping the two apps.
Once a new box has opened up with the other app inside, release the app icon that you are holding. This will allow the app icon to snap in place next to the other and finally create a fresh new folder.
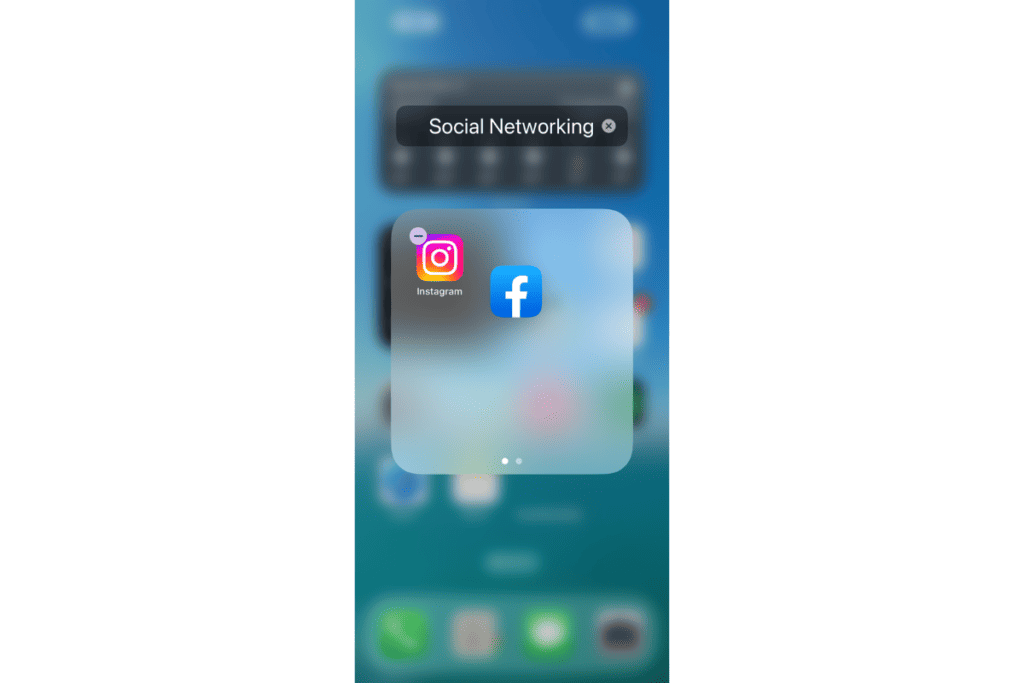
Step 5: Name your new folder
After releasing the app next to the other app and creating a new folder, a label will be created in the name field above with one that the iPhone has already suggested. In my case, since I created a folder with the apps Facebook and Instagram, my iPhone suggested the folder be named “Social Networking”.
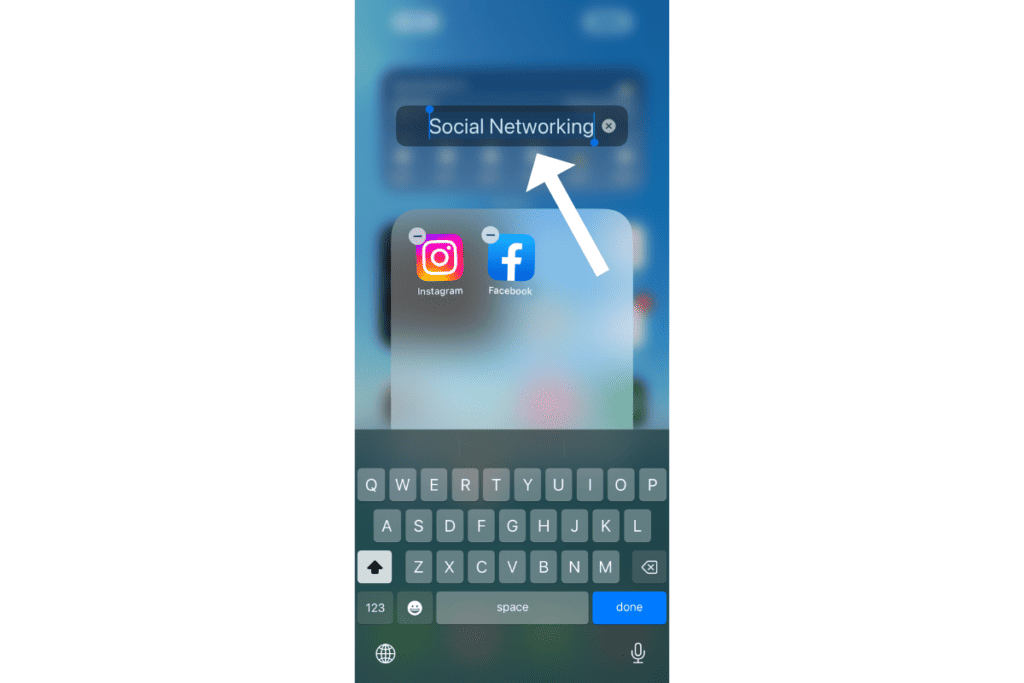
To name your new folder with a different label, tap to highlight the folder name field and begin typing to a name that you desire. Once you are done naming the new iPhone folder, tap anywhere outside the box to return back to the Home Screen. Then tap Done on the top right corner to exit Edit Mode.
You have now completed creating a new iPhone folder! But what if you want to create an iPhone folder that has more than two apps inside it?
Read More on Gizbuyer Guide: Where to Find Saved Airdrop Files on iPhone
How to Add Apps into an iPhone Folder
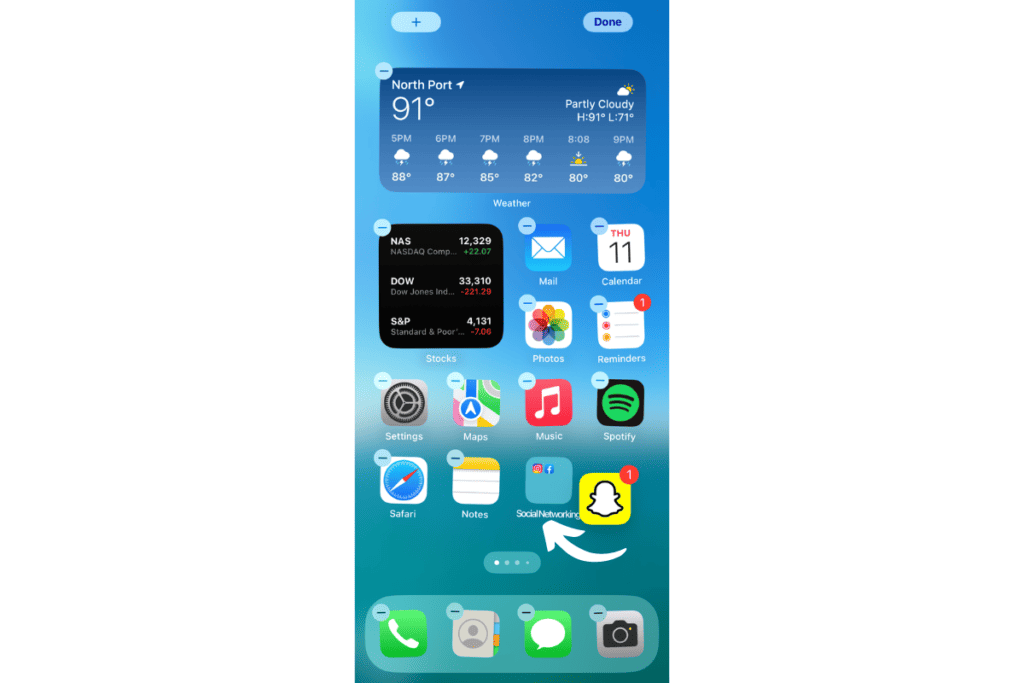
With a new iPhone folder already created. Find the app icon on the Home Screen that you would like to add to the folder. While on that Home Screen page, long-press and hold the app until the icons wiggle, confirming that you are in Edit Mode.
Next, drag and hold the app icon that you want to add over to the folder that you want to group with. If for some reason the app stops wiggling or snaps back to its original spot on the Home Screen, simply tap and hold the same app icon to enter Edit Mode once again.
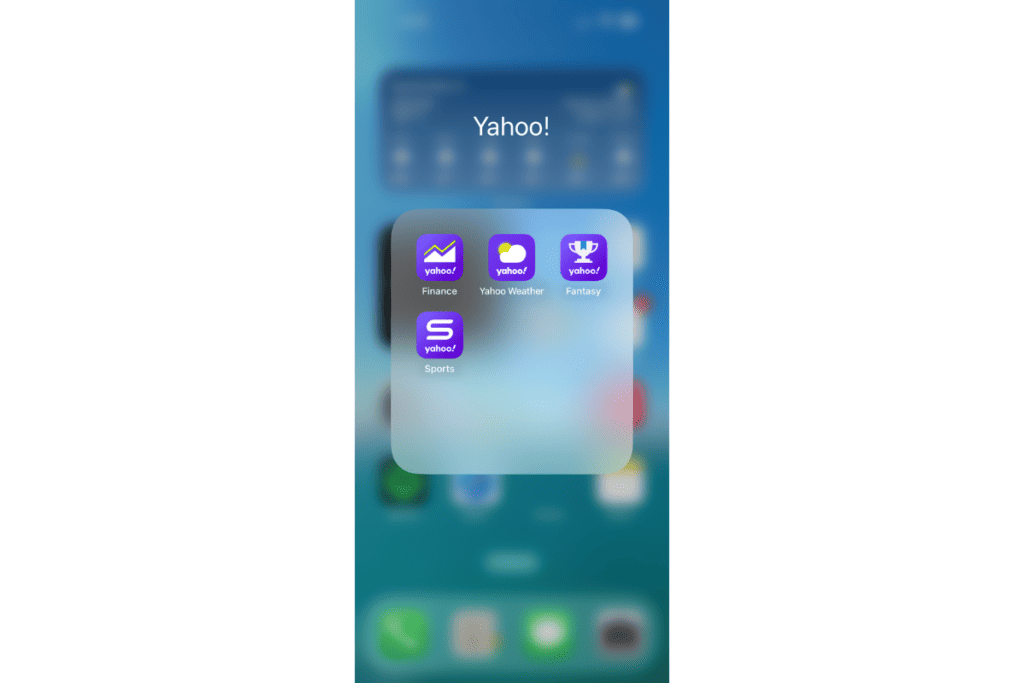
While holding the app over the folder that you want to add it to, continue holding until the box around your finger blinks, confirming that you are entering into the folder that you created, and the folder appears showing the other two apps within it.
Release the app into the folder once you see the other two apps inside and it will snap into place right next to them. Tap anywhere outside the folder to return to the Home Screen, and tap Done on the top right corner to exit Edit Mode. Now you have a folder with three apps grouped together!
Read on to find even more ways to organize and customize iPhone folders.
How to Rearrange Apps in (or out of) an iPhone Folder
If you’re not crazy about how the apps are sorted in your folder, you can rearrange how they are positioned at any time. After all, this is about making our iPhones more organized and productive!
To rearrange apps in iPhone folders, enter the folder in question by tapping on the folder icon. Once you’ve entered the folder you should see all the apps inside of the box.
Then, long-press and hold the app icon until it wiggles (entering Edit Mode) and drag it to a new spot within the folder. You can also drag and hold it outside the folder to move it out of there and back onto the Home Screen.
Release the app in its new place and tap anywhere outside the folder to return to the Home Screen. Then tap Done on the top right corner of the Home Screen to exit Edit Mode.

How to Delete an iPhone Folder
Sometimes (like me) you accidentally created a folder with apps you didn’t want to or found that a certain group of apps just isn’t organized right within a certain folder. No worries, there’s an easy way to rid that iPhone folder once and for all.
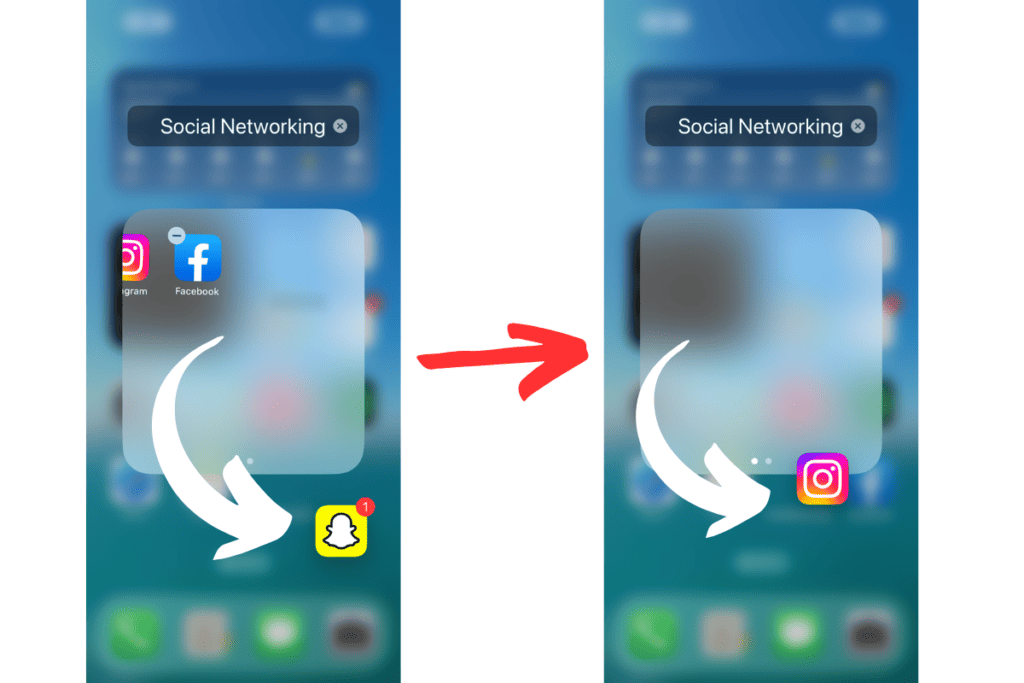
To delete an iPhone folder, tap on a folder, then long-press and hold any app inside until the icons start to wiggle, showing that Edit Mode is active.
Then, drag the app icon from within the folder and hold it anywhere outside the outline box. This will return the icon to the Home Screen, where you can continue to drag it to any position on the page.
Release the app on the Home Screen, then tap again on the folder. Repeat the process of dragging each app outside of the folder and onto the Home Screen. When the last app has been moved outside of the folder (thus showing it is empty), the folder will automatically delete.
How to Rename an iPhone Folder
If you’re ever bored of the name that you originally gave your new folder or want to change it from the default name that your iPhone suggested here’s how you can easily rename it.
To rename: Tap and hold on the folder icon until a menu pops up showing the option to rename the folder. Tap on the Rename menu option and the name field above the folder will highlight, with keyboard shown below, allowing you to edit the name in the field. Tap Done on the bottom right on the keyboard to approve the new folder name.
How to Move an iPhone Folder to Another Home Screen Page
Maybe the position of the iPhone folder itself isn’t in the right spot on the Home Screen, or you want to move the folder to another page entirely. Here’s how you can easily move that folder around:
Find the folder that you want to move, then tap and hold on the icon until the Edit Mode menu option appears or (even longer) the Home Screen icons wiggle. Then drag and release the folder icon anywhere on the Home Screen to reposition it.
To move to a different page: Drag and hold the folder icon on either side of the Home Screen page until the next page appears, or until a new Home Screen page is created. Release the folder icon to confirm your new position selection, then tap Done on the top right corner of the Home Screen page to exit Edit Mode.
And that’s it! By following these simple steps, you can easily create and customize folders on your iPhone. Not only will it save you a ton of time in searching for apps, but it will also help you keep your phone organized and clutter-free. So, give it a try and see how much easier it is to access your apps with folders!
Read More on Gizbuyer Guide: Where to Find Scanned Documents on iPhone (With Pictures)