Welcome to Part 1 of a 3-part series where I’ll cover everything about getting started with your PS5!
Whether this is the first time unboxing a PlayStation 5, or getting another one up and running, this handy quick-start guide will help on how to set it up. We’ll start with the initial physical setup and connections of the gaming console, all the way to playing your first PS5 game with all the best audio and video settings.
So without any further ado – let’s dive into the series, starting with vertical (or horizontal) stand assembly and cable connections.
Let’s begin!
Attach the PS5 Stand
When unboxing the PS5 for the first time, you’ll probably notice no stand holding the console up like in all the promo pictures we’ve seen.
However, if you flip the unit with the rear side facing up, you’ll notice a small round plug on the bottom.
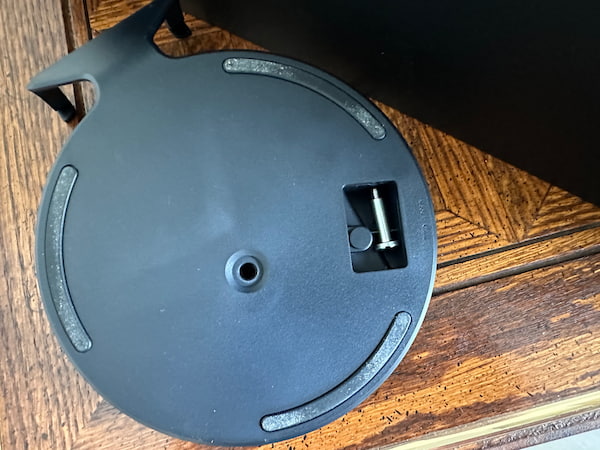
Remove the round cap and store it conveniently at the bottom of the included base.
For PS5 slim owners: There is no included base like the original PS5. Instead there’s horizontal pegs that hold up along the middle of the unit. However, you can purchase a very-premium-feeling metal PS5 slim stand (be sure to check it out on Amazon) and attach it to your PS5 following the same steps outlined here.
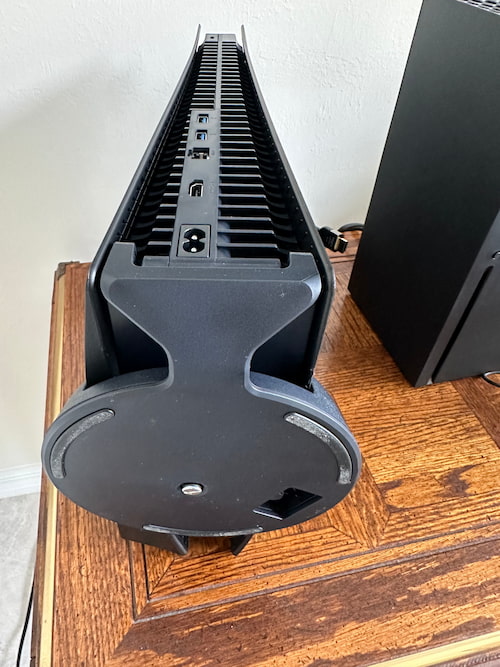
Next, attach the base so that it “hooks” around the rear, then screw it in using the supplied screw with your hand. You can also tighten it further using a fingernail, coin, or flat-head screwdriver.
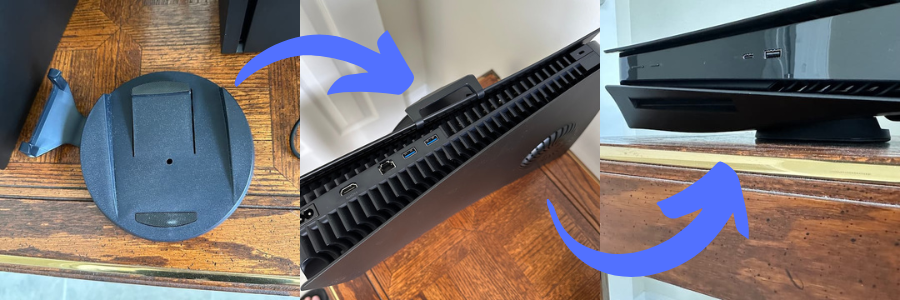
For the Horizontal Position: Rotate the middle of the stand so that the orientation of the hook is off to the side. You should feel a “click” when it’s fully rotated.
Next, place the PS5 back side up and position the stand hooks along the middle of the bottom faceplate.
Finally, place the console horizontally with the disc side bottom (for disc units) and stand attached beneath that.
A Quick PS5 Slim Note: Sony recommends that the Slim lay horizontally with the included pegs and vertically with the additional PS5 metal stand.
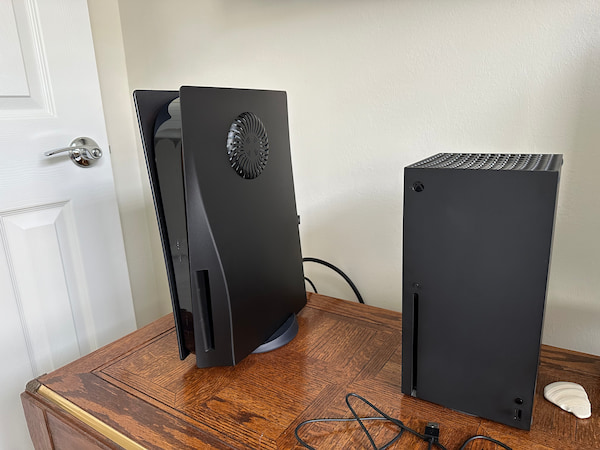
And that’s it! You now have the PS5 standing tall (or lying cool if you prefer). Now let’s get into physically connecting the PS5 to your TV or monitor, AC power outlet, and internet LAN cable (optional).
Connect the HDMI and AC power cord to the PS5
Out of the box, there’s an included HDMI and AC cord for audio, video, and power for the PlayStation 5 (and Slim).
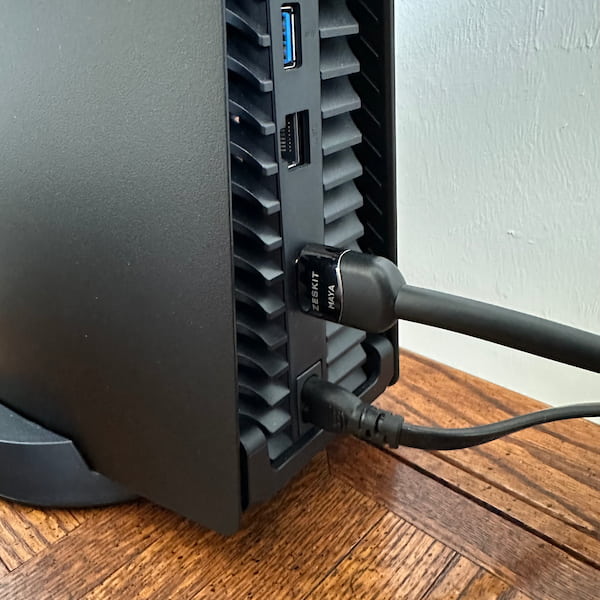
First, connect the HDMI cable to the port along the back of the console reading “HDMI”.
Then connect the other side of the cable to the HDMI IN port on your TV, monitor, or video-passthrough soundbar.
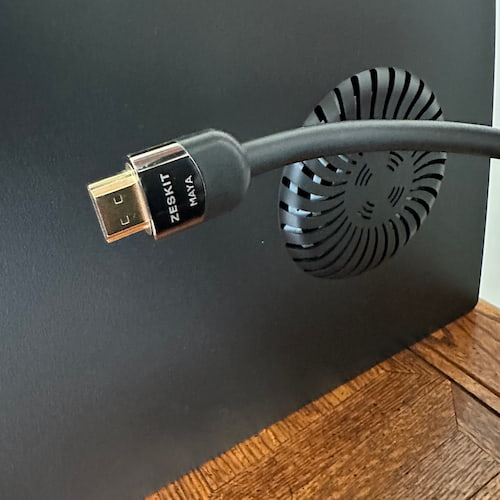
HDMI 2.1 vs HDMI 2.0: It is very important that you connect the PS5 with the included HDMI cable to get the best video setting. If you find the length too short or want to use another cable, be sure to use an HDMI 2.1 cable (like the one I bought on Amazon here). HDMI 2.1 can transfer video of 4K @ 120 frames per second, what the PS5 can do (or 8K at a lower frame rate). If you plug in an HDMI 2.0 cable, you’ll only be able to get 4K @ 60 fps max.
Next, connect the AC power cord to the back of the PS5, and then to an electrical outlet. Be sure to plug the power cord in this order to avoid the possibility of any electrical surges (but no need to worry: it’s very unlikely).
Connecting a LAN cable to your PS5: For gaming setups that require extremely low latency (like FPS tournament play) or don’t have a Wi-Fi internet connection, you’ll want to connect a LAN cable to the LAN port of the PlayStation 5.
Although LAN cables have eventually been phased out of being included in the box for modern consoles, you can order one for a very reasonable price, in several lengths (like on Amazon) that will work just fine with the PS5.
If you are using a Wi-Fi connection, you’ll have a chance to set it up through one of the setup menus coming up soon.
Next, let’s power up the PS5 and test its audio and video HDMI connection.
Turn On the PS5 and Test the HDMI Connection
Now that you’ve got all the connections finished on the PS5, it’s time to turn on the unit and test for audio and video signals from your TV or monitor.
To turn on the PS5, press the power button along the front of the console. You should hear an audible “beep” sound along with a power indicator light that flashes blue, followed by a steady white light.
Next, turn on your TV or monitor and set the HDMI input to the PS5.
It’s alive! You should now be able to see really cool animations (and sounds) introducing you to the world of PS5 for the first time.
In case you don’t see or hear anything from your video source, here are a few tips to help get your PS5 back up and running:
- First, make sure all connections are tight and secure. Even if a cable is loose or not fully plugged in, you may experience a loss in audio or video signal, or power supply altogether.
- Make sure that your surge protector is turned on and operational if you plugged your AC power cord into one.
- Ensure that the PS5 is positioned properly on its stand vertically or horizontally.
- Check if your TV or monitor is turned on and has power.
- If you’re using a third-party HDMI cable, make sure that it’s working properly by testing it on another video device.
Final Thoughts
Congratulations, you’ve now got your PS5 physically up and running! Following the proper connection steps outlined above, you should have no doubts that your PlayStation will run smoothly while producing awesome audio and visuals for many game sessions to come.
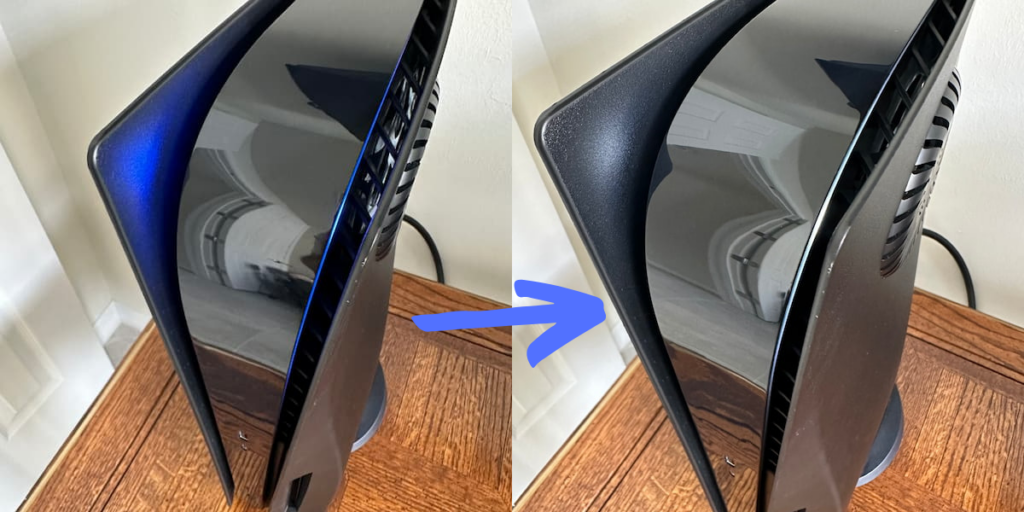
One quick note before moving on to the next part: Place the PS5 in an area that has at least a few inches of space around it that is fairly dust and smoke-free.
This will help to ensure that the PS5 runs not only smoothly, but cool and clean as well, avoiding any overheating or cleaning issues in the future.
In Part 2 of the Getting Started series: we’ll get into pairing your controller to the PS5, setting up a new (or existing) PlayStation account, and transferring content from PS4 to PS5.
Click here to move on to Part 2.